Navigation Menu 
[expand all...]
[COLLAPSE ALL...]

|
WARNINGS
- Do not operate machine without first having read the instructions (if you want it to work right now and in the future, follow the directions)
- Do not activate the RF power supply when the etching chamber is at high pressure.
Expand All
Compress All
- General Information
- This is an Anelva RIE DEM-451 parallel plate, 13.56 MHz system used for etching with tetrafluoromethane (CF4). The system is used primarily for etching of Si, SiO2, and Si3N4 films. Tool features include: fourteen inch diameter water cooled cathode/substrate platform, a diffusion-pump high vaccum system (not currently in use), and a baratron etching gauge. Its etching pump system is a roughing pump/blower combination, with a Fomblin lubricant filter that is activated on power-up of the RIE.
- CF4 / O2 will etch Si, SiO2 and Si3N4 readily since free fluorine is readily liberated in the plasma. The oxygen (optimally at 11%) initially enhances the fluorine concentration resulting in a higher etch rate. The oxygen also minimizes polymer formation in CF4/O2. Too much Oxygen will compete for fluorine available, suppressing the etch rate. The relative etch rate decreases as one goes from Si to Si3N4 to SiO2.
- The system generally produces anisotropic etch profiles unless one goes into a purely chemical fluorine etch mode with higher pressure processes. The system also has a strong loading effect so that larger substrates and open areas will require more feed gas and higher pressure to compensate. As a result, individual processes need to be characterized.
- Equipment Specifications
- Etch gases: CF4, O2
- Nitrogen purge
- 13.56 MHz excitation frequency
- Manual gas control
- Manual pressure control
- Manual RF tuning network
- Timer circuit for stopping the plasma
- 14" cathode for large sample sizes or multiple samples
- Operating Procedure
- The general procedure for etching with the RIE is the same for all types of etching. Recipes for etching different materials with different optimizations are implemented by changing parameters such as gas flow rates, gases used and in what mixtures, RF power, etching time, and chamber pressure. In all cases, the following general steps should be followed.
- Startup
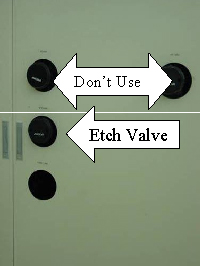
- Check to make sure that the "etching" valve (the middle valve in the column of three) on the front of the machine is fully closed (the valve closes in the clockwise direction).
- Click on image to see location on RIE
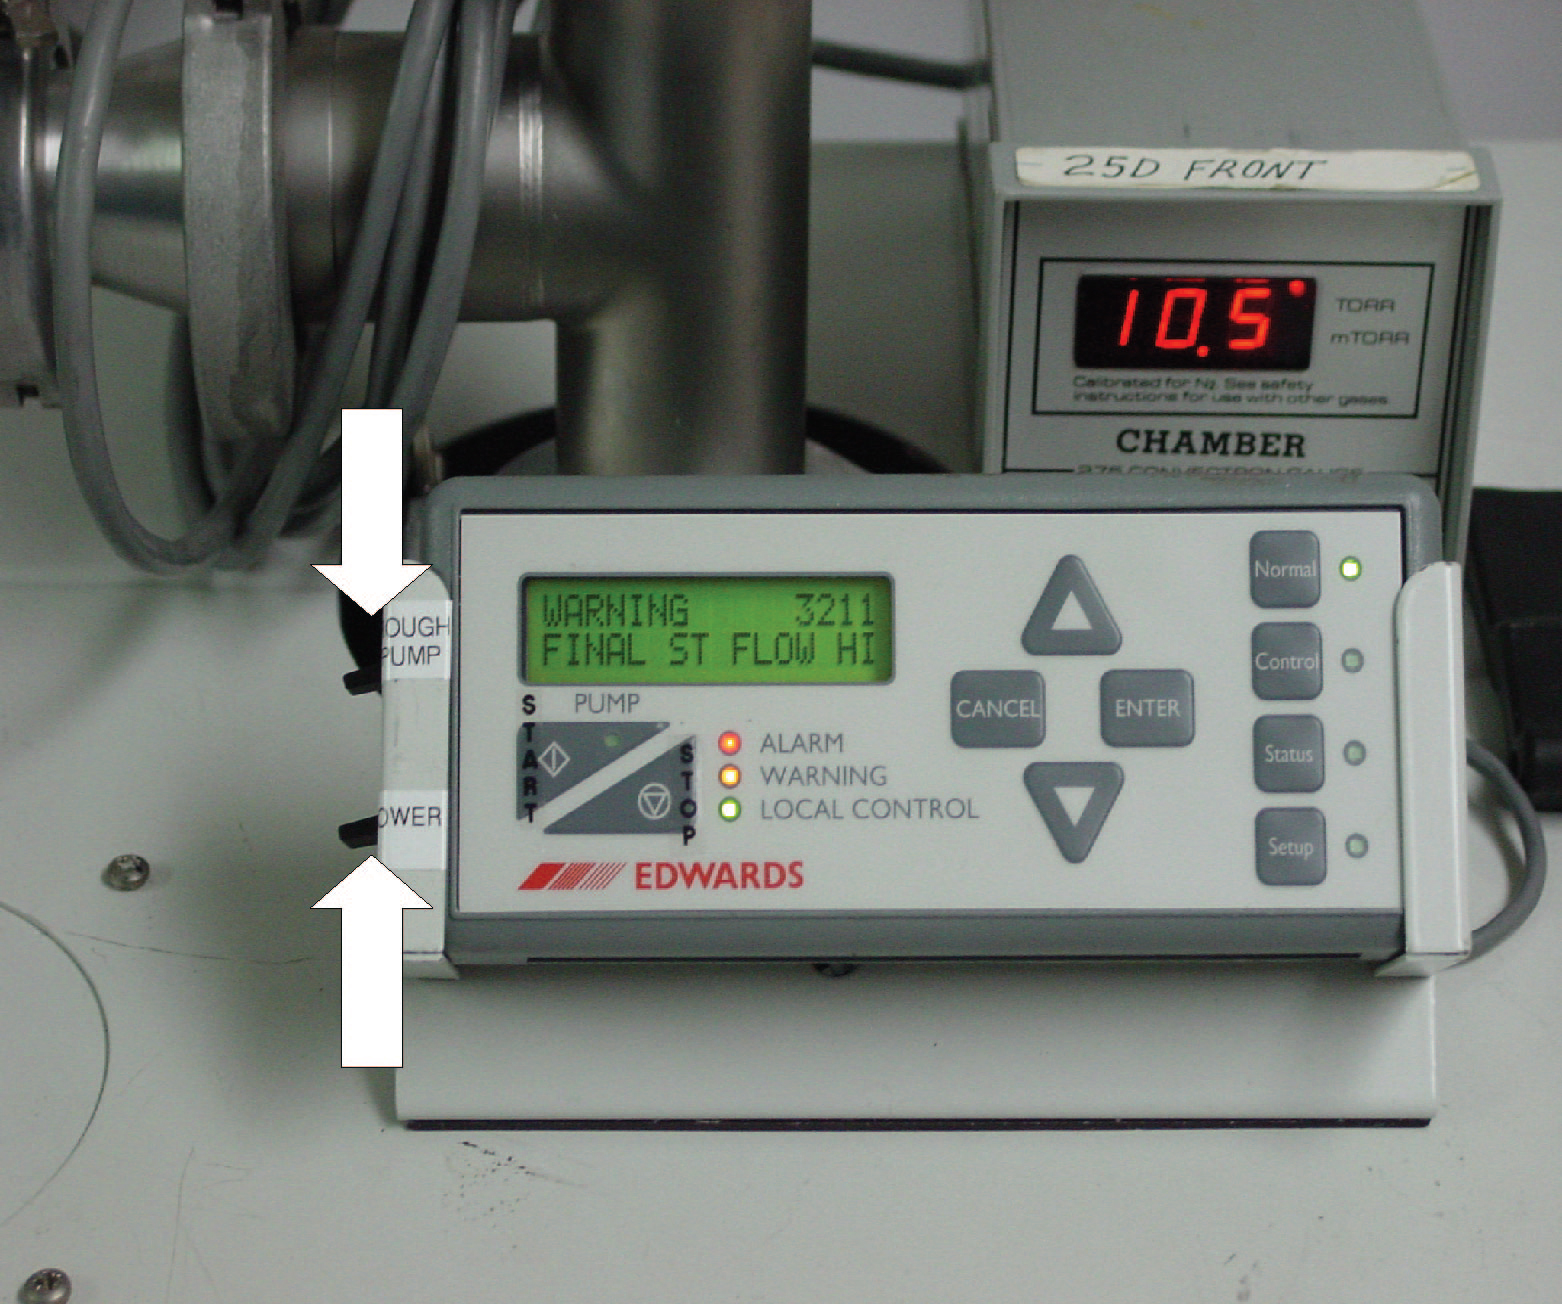
- Turn on the roughing pump and blower. The pump is in the pump room, directly behind the RIE. Switch the roughing pump on first, then switch on the blower (wait at least one second before activating the blower).
- Click on image to see location on RIE
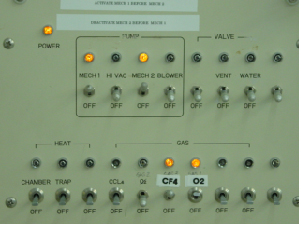
- Verify that all toggle switches on the front of the machine are in "off" position.
- Click on image to see location on RIE
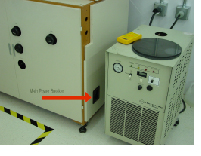
- Turn on the RIE with the main breaker switch on the right side of the machine, close to the floor (see picture).
- Click on image to see location on RIE
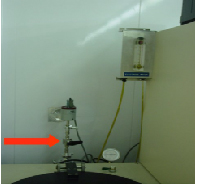
- Check to see that the cutoff valve to the Baratron etching gauge is off.
- It sticks up out of the back of the machine, behind the etching chamber. The valve is off when its handle is perpendicular to the pipe.
- Click on image to see location on RIE
- Turn on the "VENT" switch.
- This will start venting the chamber with nitrogen.
- The lid of the chamber can be opened when the chamber pressure has equalized with the outside pressure.
- Monitor the gross pressure in the chamber with the dial that sticks out of the back of the machine, just to the right of the Baratron etching gauge.
- The chamber pressure will equalize when this dial reads about -2.
- Load Specimens and Pump Down the Chamber
- Shut off the "VENT" switch.
- Load the specimens into the etching chamber.
- If only one specimen is being etched, position it in the center of the plate.
- Multiple specimens should be arranged with radial symmetry across the bottom plate to maximize the uniformity of etching between specimens.
- Close the lid.
- Slowly open the etching valve by turning it in the counter-clockwise direction.
- If the chamber is pumped down too quickly, the specimens in the chamber will slide on the plate.
- After the chamber has pumped down to about half-pressure on the dial gauge, you may open the etching valve up wider--about four or five turns.
- The pressure in the chamber will start to drop more rapidly at this point.
- When the pressure in the chamber drops to below 500 mTorr (500 on the top red MKS LED display), open the shutoff valve on the Baratron etching gauge.
- The etching gauge's readout is on the bottom MKS LED display. Refer to this pressure reading while running processes.
- Click on image to see location on RIE
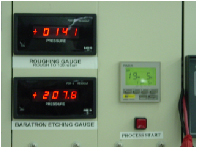
- Let the machine pump down to 20 mTorr or less to pump out atmospheric gases.
- This may take a few minutes if the machine was not shut down with the chamber at vacuum.
- If the machine does not reach 20 mTorr in about 5 minutes with both the roughing pump and the blower turned on and the etching valve wide open, ask for help.
- Starting the Process Gases
- Open the process gas valves by flipping the switches on the front of the machine.
- Click on image to see location on RIE

- Activate the process gas MFCs (Mass Flow Controllers) using the black MFC controller on the top of the RIE.
- The switches for the gases dictate which mode the MFCs are operating in: off is down, wide open is up, and automatic control is the middle position.
- Flip the switches of the gases you need to the middle position.
- See Mass Flow Controller
- Click on image to see location on RIE
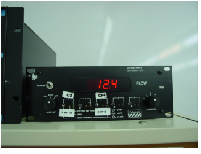
- To see the current flow rate on the process gas MFCs, the dial on the left of the control unit should be in the middle position.
- The dial on the right controls which MFC's output is being displayed on the LED display. The LED display shows the MFC's current output, as a percentage of its maximum output.
- Because the CF4 and O2 MFC have different output settings, the LED output number must be scaled differently for each to determine the MFC's true output.
- The scaling factor for O2 is 1/10, and the scaling factor for CF4 is 2.
- Thus, if the LED shows 31.0 for the O2 readout, the O2 MFC is currently outputting 3.10 SCCM of O2.
- A 12.5 reading on the CF4 MFC means that it is passing 25.0 SCCM CF4.
- The flow rate settings of the MFC may be adjusted by turning the "SET" screw on the controller (there should be a small screwdriver in front of the controller box). There are two set screws for each gas on the MFC controller. Always adjust the one on the right. The settings can only be adjusted while the MFC is actually running.
- Starting the Etch
- Once the process gases are flowing satisfactorily, flip the "CHILLER" switch on the front of the RIE. Note that this switch now combines the previous "WATER" switch and the chiller power switch.
- Close the etching pump valve until the Baratron etching gauge reads about 20 mTorr less than the target etching pressure.
- The pressure doesn't have to be exactly stable.
- Set the RF power
- The RF power supply is located on the top of the RIE.
- See RF supply
- Click on image to see location on RIE
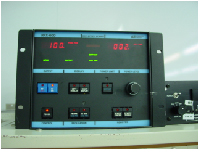
- When the "SETPOINT" button is held down, the left LED display shows the current setting of the RF supply in watts.
- With the "SETPOINT" button held down, turn the power setting knob to set the desired power output.
- Set the process timer on the front of the machine to 5 seconds more than the desired etch time.
- See Process timer
- Click on image to see location on RIE

- Press the "PROCESS START" button. (The green "INTLK" light should appear on the RF supply when you do this.)
- When the timer reaches the desired time of your etch, press "RF ON" on the RF power supply.
- This will strike a plasma in the etching chamber, starting your process.
- Maintaining Pressure and Reflected Power
- When the RF supply is activated, the pressure in the chamber will rise about 20-40mTorr, and you should quickly stabilize the pressure to the point you want by adjusting the etching valve.
- It's very difficult to hit an exact equilibrium pressure, so you will likely have to keep adjusting the valve to maintain the proper pressure through the duration of the process.
- Use the “BARATRON ETCHING GAUGE” readout as your chamber pressure reference while etching.
- After the pressure is at least initially stabilized, turn to the impedance-matching knobs under the etching chamber window on the front of the machine.
- You will need to use these to minimize the power reflected back to the RF power supply.
- Think of the knob on the left as a "rough" adjustment, and the knob on the right as a "fine" adjustment.
- Adjust them until you find a minimum in the reflected power displayed on the RF power supply.
- The reflected power for most processes shouldn't be more than 10 watts, and can be as little as 1 watt.
- Process Completion
- When the process timer runs out, the RF power supply will automatically shut off.
- After the RF power turns off, turn off the process gas MFCs and the gas switches on the machine. You may also turn off the chiller, if you do not plan on doing any more etches.
- Open the etching valve all the way, and when the chamber reaches about 20 mTorr, close the valve to the Baratron etching gauge on the back of the machine, above the etching chamber.
- Turn on the "VENT" switch on the front of the machine.
- This will start nitrogen flowing into the chamber, raising the pressure.
- Note that the roughing pump is still on, and the valve is still open, so nitrogen is being pumped out of the chamber until you shut the etching valve. (This is to purge the process gases from the roughing pump.)
- Immediately after turning on the nitrogen vent, close the etching valve.
- The chamber will take about 30 seconds to come up to pressure.
- When the chamber has equalized pressure, turn off the vent, open the lid, and remove your specimens.
- If you are going to do more etches, repeat this procedure. If you are finished with the machine, continue on with the last few steps.
- Machine Shutdown
- Close the lid to the etching chamber.
- Open the etching valve.
- After the chamber has pumped down to about 10 mTorr (with the Baratron valve), shut the etching valve.
- Turn off the machine with the breaker on the right side of the RIE, near the floor.
- Close the valves on the CF4 and O2 gas cylinders.
- Turn off the blower and roughing pump in the pump room.
- Quick Reference
- Startup
- Verify that Etch and Baratron valves are closed.
- Turn on the rouging pump and blower in the pump room.
- Open process gas cylinder valves.
- Make sure all switches are off.
- Turn on main breaker.
- Load
- Turn on "VENT" switch until pressure is equalized.
- Load specimens.
- Close lid.
- Open Etch valve Slowly.
- Open Baratron Valve when pressure is less that 500 mTorr.
- Wait until pressure is less than 20 mTorr.
- Etch
- Turn process gases on.
- Flip MFC switches to the middle "AUTO" position.
- Turn on "CHILLER" switch.
- Adjust Etch valve until pressure is 20 mTorr less than etch pressure.
- Set power.
- Set timer.
- Push "PROCESS START" button.
- Maintain pressure and minimize reflected power.
- Remove Samples
- Turn off MFCs.
- Turn off chiller (if you don't plan on doing more etches).
- Open etching valve all the way (pump down to 20 mTorr).
- Close Baratron valve.
- Turn on Vent.
- Close etching valve.
- Remove specimens.
- Machine Shutdown
- Close lid.
- Open etching valve.
- Close etching valve when pressure reaches ~10 mTorr.
- Turn off main breaker.
- Close process gas cylinder valves.
- Turn off blower and roughing pump.

|


