Navigation Menu 
[expand all...]
[COLLAPSE ALL...]

|
Expand All
Compress All
- General Information
- The Karl Suss Mask Aligner is the newest addition to our photolithographic machines. It has touch screen controls that allow for parameters to be changed simply and efficiently. It is equipped with a Hitachi monitor for easy to view mask and wafer alignment. Likewise, it is equipped with joystick controls that can adjust the alignment by 1 micron in any direction.
- Equipment Specifications
- Light Source: 350 W Mercury Bulb
- Objective Lens: 5x, 10x, 20x
- Monitor: Hitachi split, left or right screen, left and right focus, grab image button, brightness adjustment
- Joystick Control: Continuous step or single step down to 1 micron, mask and/or microscope adjustment
- Adjustment: XY and theta
- Printing Methods: Proximity, Soft Contact, and Hard Contact (with 4 inch chuck), Vacuum Contact (with 4 inch chuck)
- Emergency off feature
- Operating Instructions
- Gas Operation
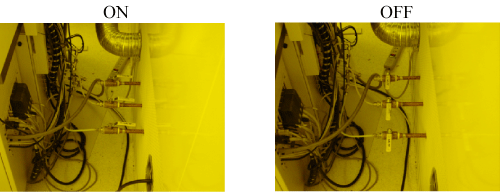
- Open the nitrogen, compressed air, and vacuum valves at the rear of the machine.
- The valves are open when they are parallel to the pipes and off when they are
perpendicular to the pipes.
- See Pictures:
- Lamp Operation
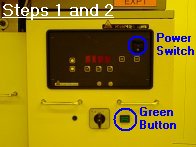
- Press Green Button that reads CIC Power Restart.
- Flip the Power switch.
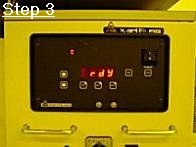
- Wait for LED screen to say "rdy."
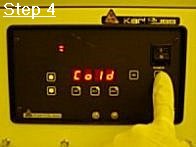
- Press the Start button and the LED screen will read "COLD". It will take between 10-20 minutes for the lamp to be ready for use and the LED screen will read "274" or "275" when ready.
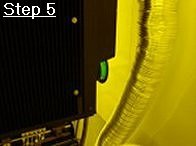
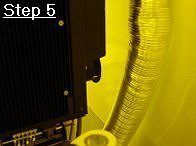
- Make sure green light is on at rear of lamp. If the green light is not on, turn Power Switch off and go call Jim Fraser immediately. (2-4344)
- See Pictures:
- Click on image to see location on aligner
- Click on image to see location on aligner
- Machine Boot-Up
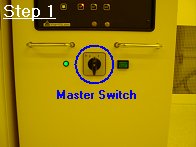
- Flip master switch to 1 position. (Computer turns on.)
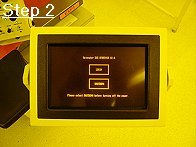
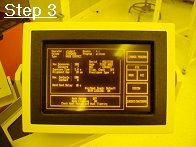
- Press login button on touch screen and enter your username and password. (If your password is entered incorrectly the touch screen will switch back to the login screen and will be locked. You can press Ctrl + Alt + Del to restart the machine.) **To obtain a username and password you must be certified on the machine by Joe Bussio.**
- The machine will take a minute to boot up before you can begin to set up the Short Program.
- See Pictures:
- Click on image to see location on aligner
- Lithography
- Short Program (To be used when processing a few wafers at a time)
- Setting up the Short Program (All steps on the touch screen)
- Press the System button.
- Press the Short Program button.
- Press the Change Program button.
- Press the Edit button.
- Press the Change Type button and choose Proximity, Soft or Hard Contact. (Vacuum contact is only available with the 3 inch chuck.)
- Now press Page 1 and adjust values according to what you want.
- Press the Return button when finished.
- Next press Page 2 and adjust values according to what you want. Make sure you choose either First Mask or Align Mask for your option. The Flood Exposure option will not be used here.
- Press the Return button when finished.
- Press the Continue Button.
- Finally press the Return button 2 times more to exit out of the Change Program. It is now time to run the Short Program.
- Running the Short Program
- Press the Start Button (on touch screen).
- Press the Continue Button (on touch screen) and the "Load Mask And Clamp Controller" screen appears.
- Make sure the panel is pushed all the way in and press the Clamping: Off Button. Should now read Clamping: On.
- Now press the Continue Button. The chuck will rise up through the hole in the panel and the Load Wafer screen will appear.
- Loading the Wafer
- Note: For the Aligner with the vacuum chuck,
use finger instead of tweezer for loading wafer.
This will prevent from damaging the chunk by the tweezer.
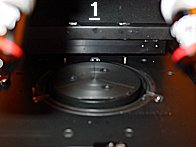
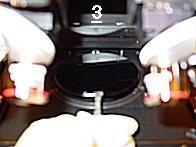
- Load the wafer onto the chuck.
- Press the "Vacuum: off" button. Should now say "Vacuum: on".
- Press the Continue Button and the chuck will lower and the "Load Mask And Clamp Controller" screen appears.
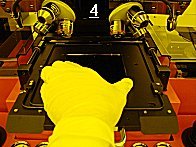
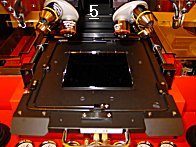
- See the pictures: (shows how to put the wafer on the chuck)
- Click on image to see location on aligner
   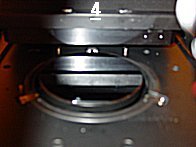
- Loading the Mask
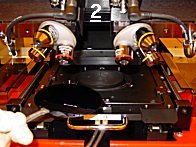
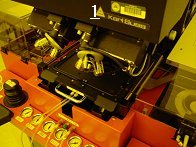
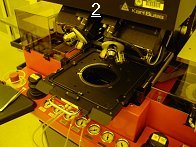
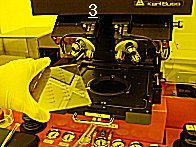
- Load the mask onto the panel.
- Press the Vacuum: Off and Clamping: Off Buttons. Should both now read " ": On.
- Press the Continue Button. If the First Mask option was chosen during Setup then there will be a short delay time and the wafer will be exposed. Skip steps 7 and 8 and move on to the next section. If the Align Mask option was chosen, proceed to steps 7 and 8.
- See the pictures: (shows how to put the mask on the panel)
- Click on image to see location on aligner
- Align the mask and wafer using the joysticks
- Picture of the joysticks
- Click on image to see location on aligner
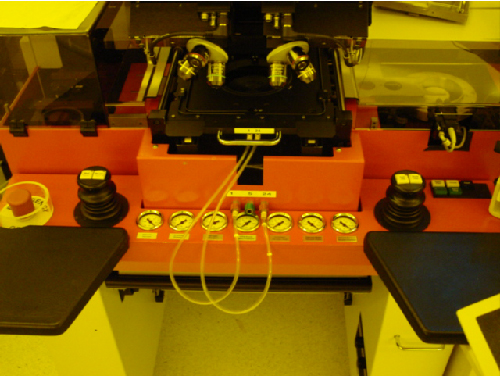
- Buttons on joysticks allow either the microscope or mask to be moved or both simultaneously. The movement can be continuous or in steps.)
- When alignment is complete, turn buttons on the joysticks off. (The red lights by the buttons will go out.
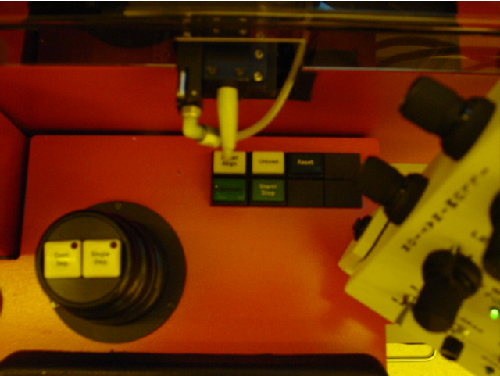
- Press the Exposure button. The wafer will then be exposed.
- Click on image to see location on aligner
- Removing Wafer and Resetting Machine (all buttons on touch screen)
- Now unload the mask and wafer by following the instructions on the screen. It is basically the opposite of what you did before in steps 5 and 6.
- After wafer is unloaded you can continue to process more wafers is you choose to do so. If so, start at step 5 of Running the Short Program and follow the instructions. If not, press the Cancel button.
- Now press the Exit Short Program button (on the touch screen).
- Press the Logout/Shutdown button (on the touch screen).
- If the Logout button is chosen, it will bring up the Login screen again. This is good if someone wants to use the machine right after you.
- If the Shutdown button is chosen, wait until the message appears saying it is ok to shutdown the computer.(Only shut down the machine if it will not be used for the next 3 hours.)
- Long Program (To be used when processing multiple wafers)
- Running the Long Program
- Loading wafers
- Load wafers into ma150's specially-made boat.
- Place boat into position on aligner.
- See the picture:
- Click on image to see location on aligner
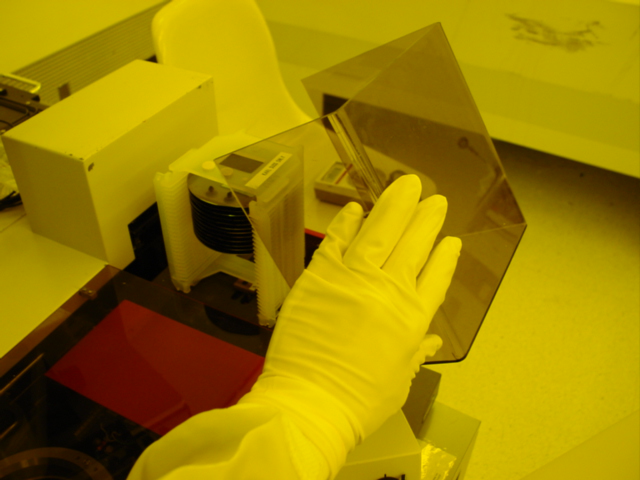
- Loading the Mask
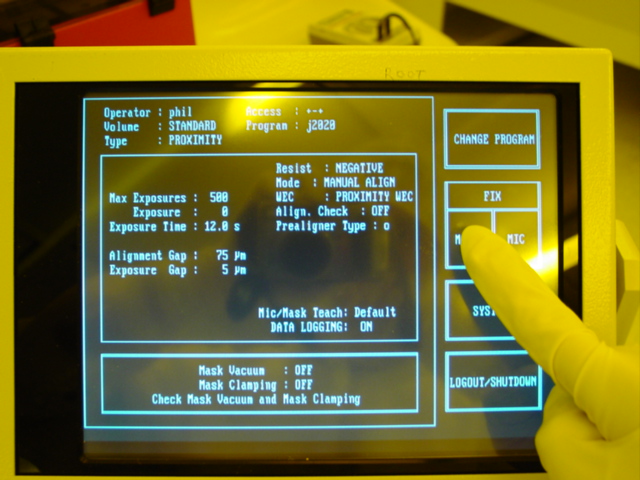
- Press the mask button on the touchscreen.
- Click on image to enlarge
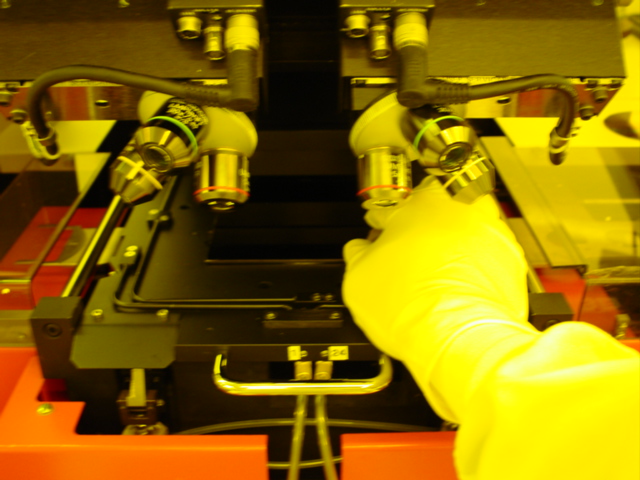
- Load the mask.
- Click on image to see location on aligner
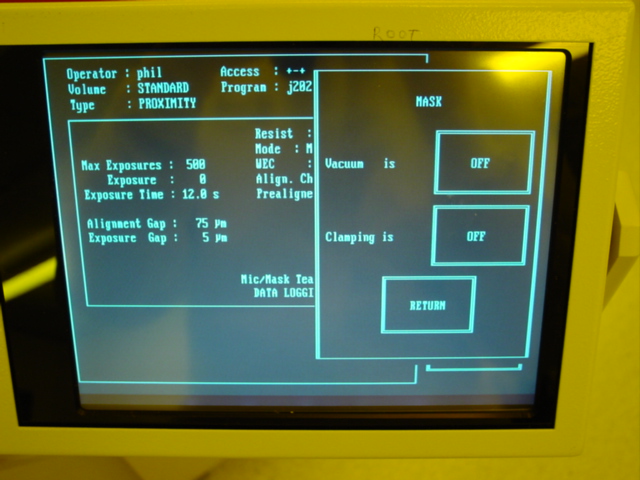
- Press button to turn mask vacuum on, then press button to enable clamping of mask.
- Click on image to enlarge
- Press the start button.
- See the picture: (the button will be blinking)
- Click on image to see location on aligner
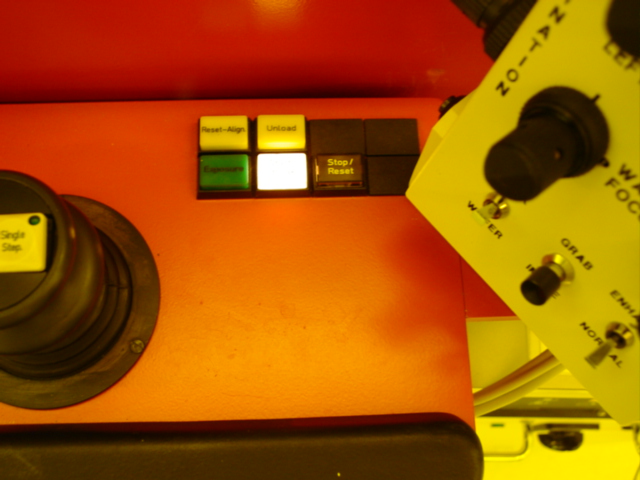
- After the start button is pressed, the machine will proceed to automatically load a wafer onto the wafer chuck for processing. The wafer is aligned and the machine loads another wafer onto a temporary storage unit for faster processing of the wafers. Also, the microscope is lowered into place for aligning. The machine assumes that the mask you are using is not the first mask.
- If alignment is needed then align the wafer and mask using the joystick and then press the button on the joystick that is lit up. If alignment is not needed then just press the button on the joystick that is lit up.
- See the picture:
- Click on image to see location on aligner
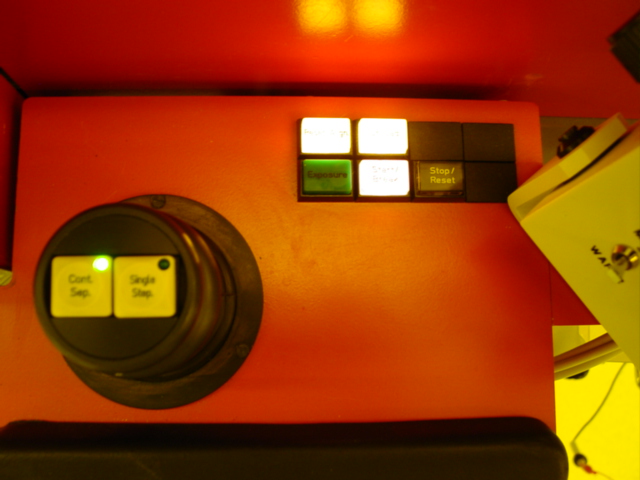
- The microscope will then raise and the expose button will light up.
- Now press the exposure button on the machine. The wafer will be exposed to light and unloaded to the ma150's specially-made boat. Congratulations! You have just completed your first wafer.
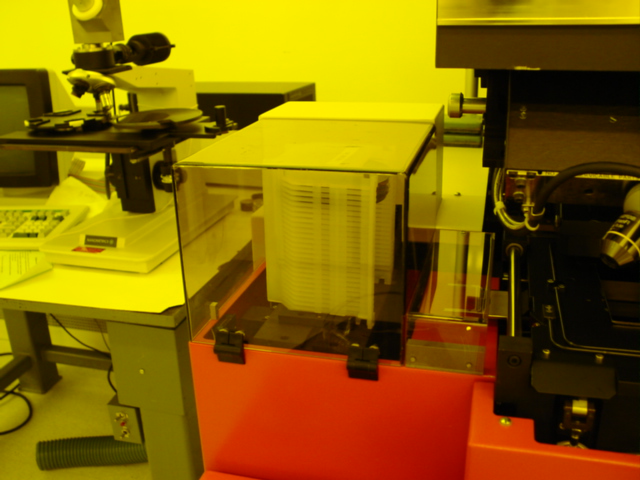
- After you have finished processing all of your wafers, remove them from the ma150's specially-made boat on the left side of machine.
- See the picture:
- Click on image to see location on aligner
- Now press the Logout/Shutdown button (on the touch screen).
- If the Logout button is chosen, it will bring up the Login screen again. This is good if someone wants to use the machine right after you.
- If the Shutdown button is chosen, wait until the message appears saying it is ok to shutdown the computer. (Only shut down the machine if it will not be used for the next 3 hours.)
- Shutting Down
- Now flip the master switch to the 0 position, turn off the power switch to the lamp, and close the nitrogen, compressed air, and vacuum valves. You are done!

|
